Pen and Marker Drawings

A few years back I followed a map making tutorial using these utensils. The end result was surprisingly elegant, had deep colors, and shading that made it pop off the page. You can see my results of these original efforts in the drawing blog post collection. This includes forests, rivers, and maps drawn with pens. This took me down something of a rabbit hole of pen and marker drawing that I have recently been exploring again.
I started by creating a set of icons to use for a new project that I am working on. I needed swords, shields, banners, and other reusable icons. I started with a simple shield.

In a future blog post I will go into a tutorial of how to draw pictures such as this. However the process is #2 pencil outlines, .005 marker over the pencil lines, erase pencil lines, 0.05 marker over the marker lines, and then shading with a few different types of markers, from light grey to dark grey.
I then fixed them up in photoshop. I didn't do much here, because I wanted something reusable. So I only removed the background and made minor fixes.

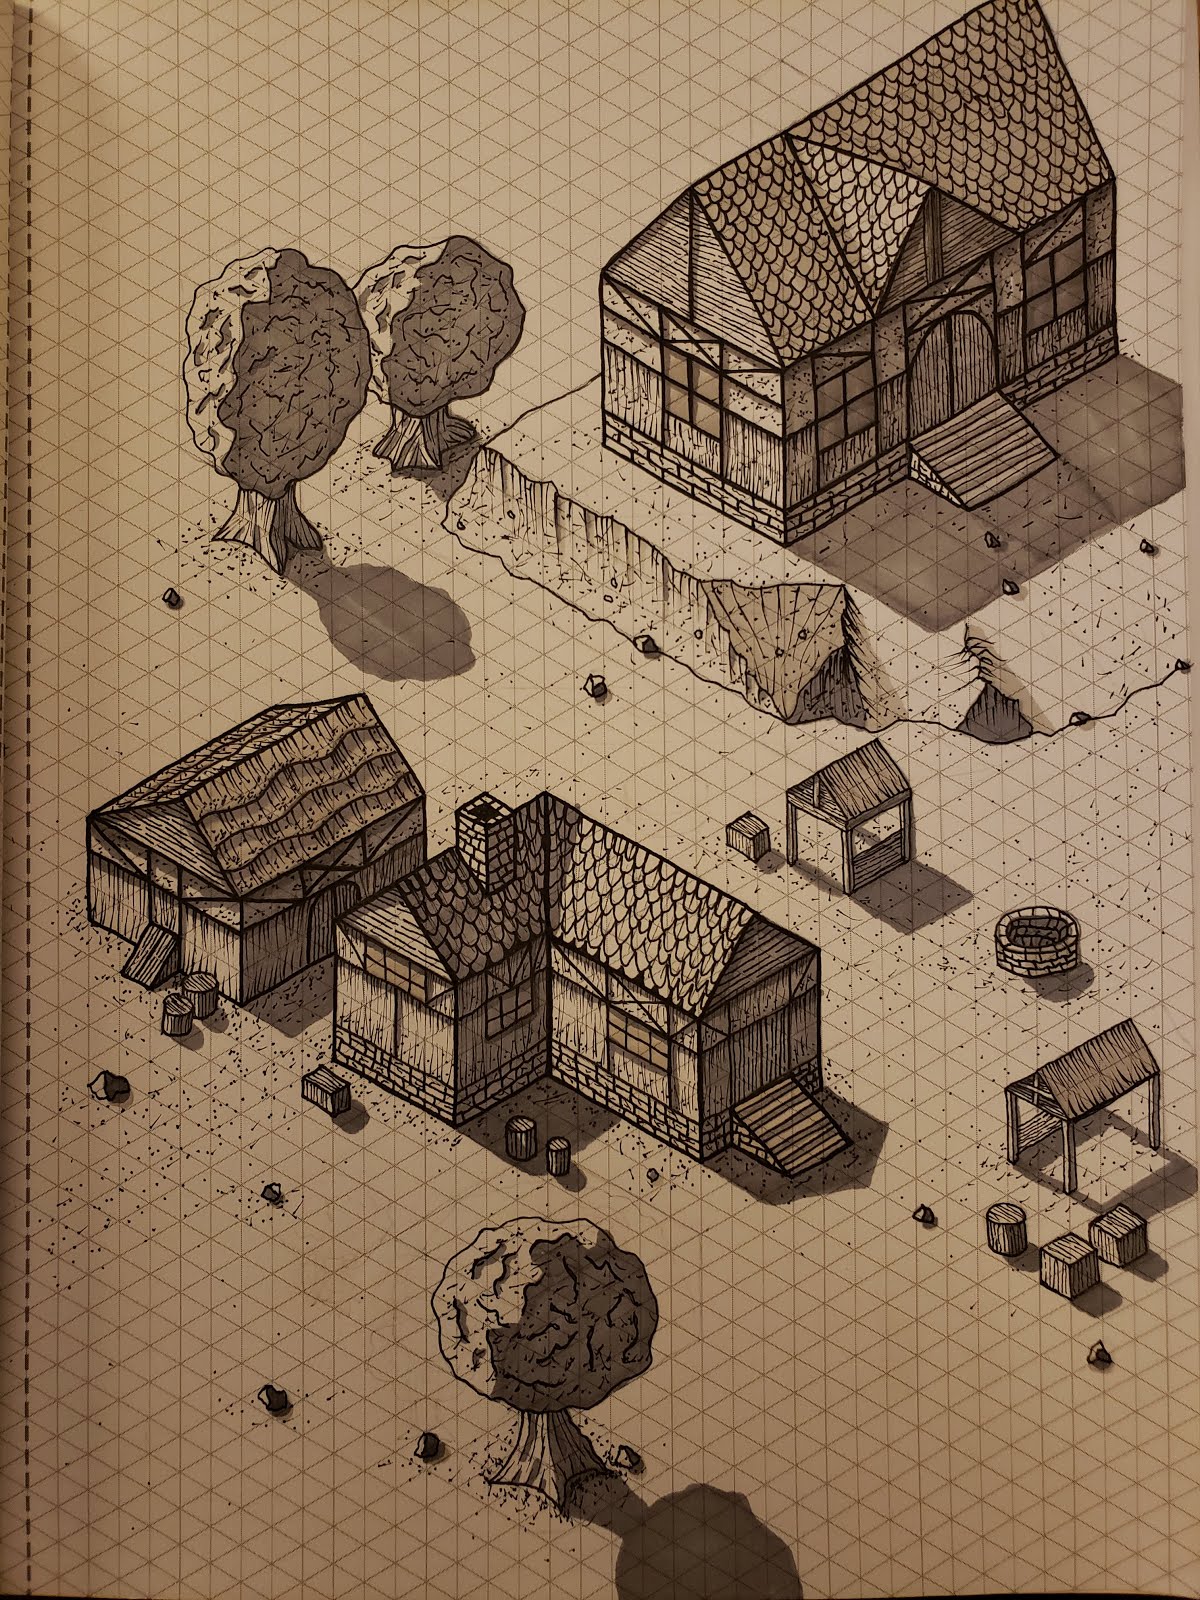
This process continued for quite a number of new drawings. I saw significant improvement over time. I found the key was to draw the picture big enough that you can get fine details and then shrink the image down on the computer, but not so big that the marker shading is hard to get consistent. Using temporary grid lines at the beginning of the drawing can help things stay in alignment as well. These can be created with a ruler and pencil, and then erased once you put down the first layer of pen.


I hope you have enjoyed the blog post. Stay tuned for a follow up tutorial!