How to Draw an Isometric Forest
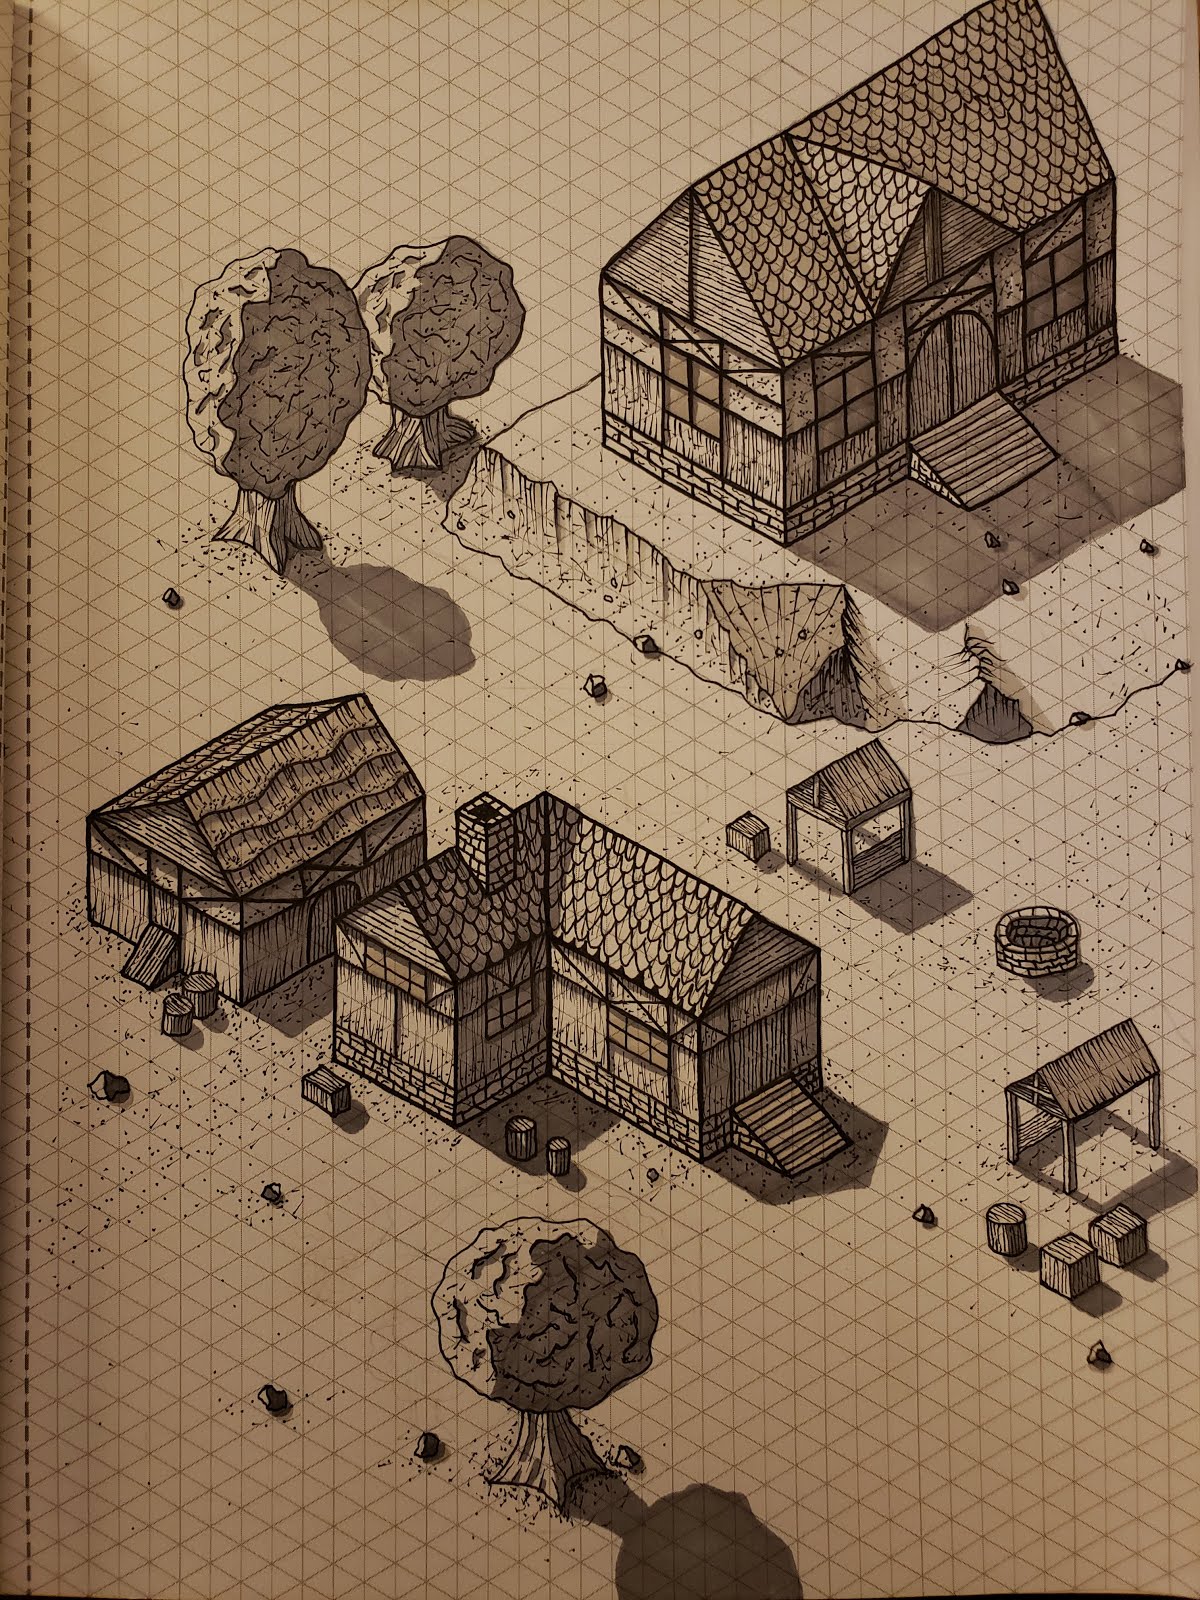
If you're going to draw impressive isometric villages then it is important to be able to draw lots of different types of things in order to give variation. In this blog post we'll look at how to draw isometric trees.
Supplies
We will need the 005 pen and Cool Grey 4 markers. All of these materials are available at the links above.
Step 1: Trunk Outline
Start by using the pencil to draw a simple rectangular shape. Extend it two boxes high and one box thick.
Step 2: Containing Box
Now outline an imaginary containing box around the shape of the tree. This will serve as a guide when drawing the tree shape in the next step. I drew the lines that represent "the other side" of the box as dotted lines in order to help with my own understanding of the perspective.
Step 3: Tree Shape
Now draw the tree shape. It should fill almost the entire box, should be randomly wiggly and deformed, and should stretch towards the corners of the box while also not becoming a box shape itself.
Step 4: Roots
Continuing with the pencil draw the roots.
Step 5: Pen Outline
Now outline the tree shape and the roots in the .005 pen. You do not have to follow the pencil lines exactly, they more just serve as a guide.
Step 6: Erase Pencil Marks
Now erase the pencil marks. We are not beginning to see a tree take shape.
Step 7: Shading Guide
Draw an upside down hockey stick shaped line on the tree. Notice the flat section of the hock stick represents the top of the tree, but is off set from the top of the tree shape. This is because of the angled isometric perspective and will help us in the following steps.
Step 8: Initial Texture
Now add wavy lines to the tree. Notice the small dot I added representing the top of the tree and how the wavy lines are centered around that point. Now some of the waves break the pattern but generally they all wrap around that top point.
Step 9: Trunk and Leaf Texture
Hold the pen with two fingers and lift your hand off of the page. Now randomly add dots and scratches to the tree shape, adding more than you think you should. The odd way of holding the pen forces you to be imprecise and random.For the trunk hold the pen normally and firmly at the top edge of the trunk and then scratch the pen downward about half way down the trunk. This will give the spidery look o the lines. Repeat the process starting from the bottom edge, following the flow of the trunk roots. I then added a single consistent thick line starting from the point of the middle root all the way to the top of the trunk to help with shading in the next step.

Step 10: Initial Shading
Retrace the original wavy lines on the tree making them stand out more. Then add shading using the Cool Grey 4 marker. Follow your pencil line as a rough guide. I tend to break away from the pencil guide and follow the wavy lines in order to give the tree texture some dimension. Finally, add shading to the trunk.
Step 11: Ground Texture
Using the same process you followed to add the leaf texture, add texture to the ground surrounding the tree using the .005 pen.
Step 12: Trunk Shadow
Starting at each corner of the tree add the trunk shadow with the Cool Grey 4 marker. The shadow should get thinner as it moves away from the base of the trunk.
Step 13: Tree Shadow Outline
Now outline tree shadow, making a random wavy outline. The tree's shadow can either be squashed in height as if the sun is high, or extended further out as if the sun is low in the sky.
Step 14: Tree Shadow
Finally fill in the tree shadow. Also notices that I followed the right side of some of the trunk texture lines with thin lines of the Cool Grey 4 marker, giving some dimension to the trunk.
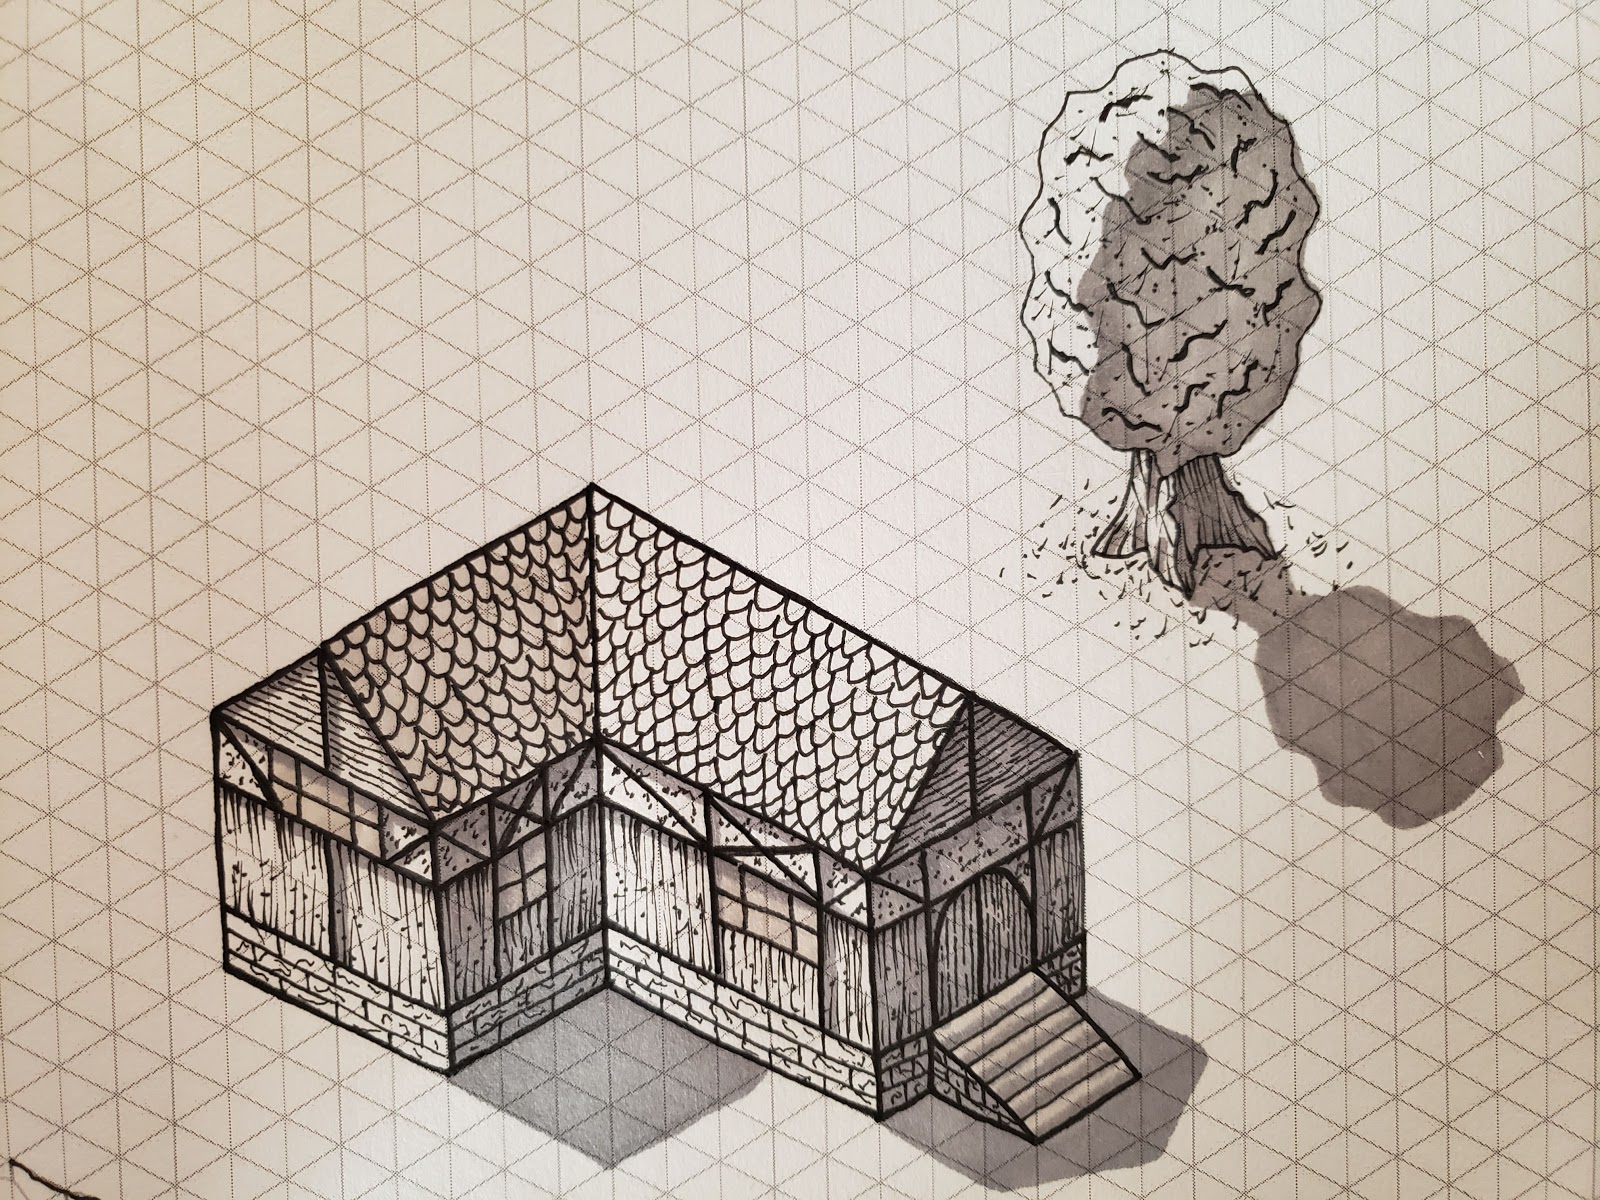
I hope you enjoyed this post. See my other How to Draw Isometric articles for more pop off the page isometric techniques.